Segment Control
Learn creating a Segment Control for a seven-segment display using Windows App SDK with this Tutorial
Segment Control shows how to create a seven-segment display using Windows App SDK.
Step 1
Follow Setup and Start on how to get Setup and Install what you need for Visual Studio 2022 and Windows App SDK.


Step 2
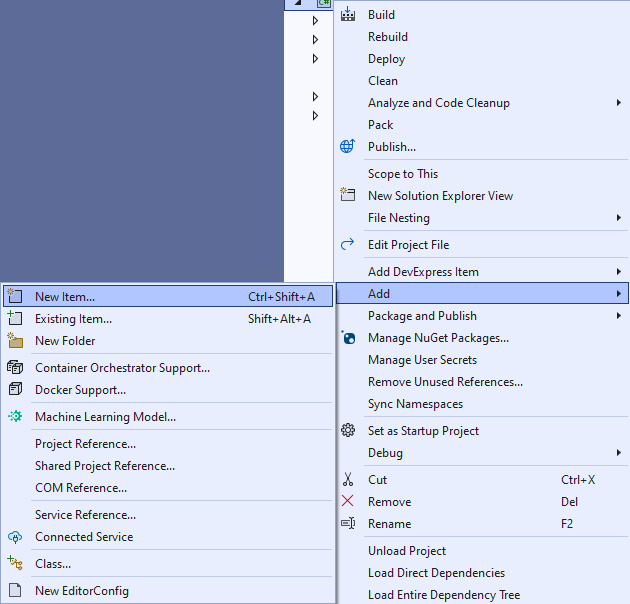
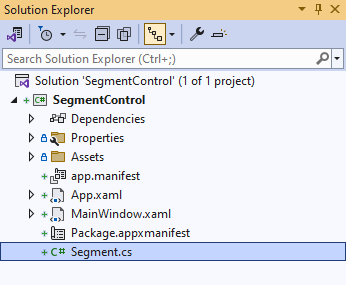
Then in Visual Studio within Solution Explorer for the Solution, right click on the Project shown below the Solution and then select Add then New Item…
Step 3
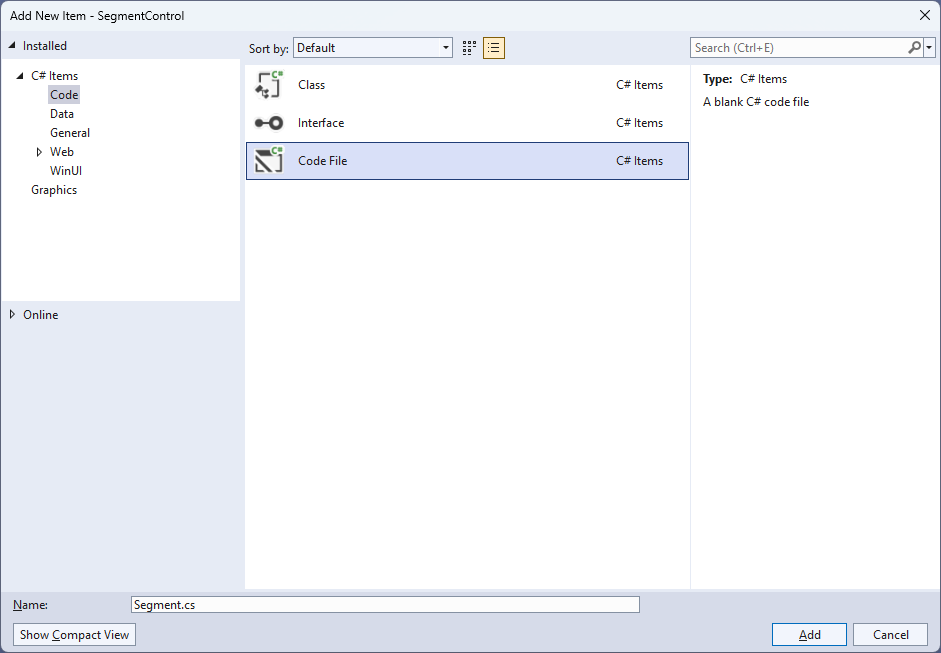
Then in Add New Item from the C# Items list, select Code and then select Code File from the list next to this, then type in the name of Segment.cs and then Click on Add.
Step 4
Step 5
You will now be in the View for the Code of Segment.cs, within this type the following Code:
using Microsoft.UI;
using Microsoft.UI.Xaml;
using Microsoft.UI.Xaml.Controls;
using Microsoft.UI.Xaml.Data;
using Microsoft.UI.Xaml.Media;
using Microsoft.UI.Xaml.Shapes;
using System;
using System.Linq;

namespace SegmentControl;

public enum Sources
{
    Value, Time, Date, TimeDate
}

public class Segment : StackPanel
{
    // Constants & Members

    // Dependency Properties & Properties

    // Get Element & Add Element Methods

    // Set Segment & Add Segment Methods

    // Add Layout Method & Value Property

    // Constructor

}
There are using statements for the User Control, a namespace for SegmentControl with an enum for the Sources
of the Segment Control along with a class of Segment that will represent the User Control.
Step 6
Then in the namespace of SegmentControl in the class of Segment after the Comment
of // Constants & Members type the following Constants and Members:
private readonly byte[][] table =
{
    // a, b, c, d, e, f, g
    new byte[] { 1, 1, 1, 1, 1, 1, 0 }, // 0
    new byte[] { 0, 1, 1, 0, 0, 0, 0 }, // 1
    new byte[] { 1, 1, 0, 1, 1, 0, 1 }, // 2
    new byte[] { 1, 1, 1, 1, 0, 0, 1 }, // 3
    new byte[] { 0, 1, 1, 0, 0, 1, 1 }, // 4
    new byte[] { 1, 0, 1, 1, 0, 1, 1 }, // 5
    new byte[] { 1, 0, 1, 1, 1, 1, 1 }, // 6
    new byte[] { 1, 1, 1, 0, 0, 0, 0 }, // 7
    new byte[] { 1, 1, 1, 1, 1, 1, 1 }, // 8
    new byte[] { 1, 1, 1, 0, 0, 1, 1 }, // 9
    new byte[] { 0, 0, 0, 0, 0, 0, 1 }, // Minus
    new byte[] { 0, 0, 0, 0, 0, 0, 0 }, // Colon
    new byte[] { 0, 0, 0, 0, 0, 0, 0 } // Space
};
private const int width = 5;
private const int height = 25;
private const int spacing = 10;
private const int minus_pos = 10;
private const int colon_pos = 11;
private const int space_pos = 12;
private const string minus = "-";
private const string colon = ":";
private const string space = " ";
private const string time = "HH:mm:ss";
private const string date = "dd-MM-yyyy";
private const string date_time = "HH:mm:ss  dd-MM-yyyy";
private const string invalid_source = "Invalid argument";

private int _count;
private string _value;
The Constants include a two-dimensional Array of table that will represent the elements of the segments that will be
displayed for each Digit or Minus, Colon, and Space along with Members for the Segment Control.
Step 7
While still in the namespace of SegmentControl in the class of Segment after the Comment
of // Dependency Properties & Properties type the following Dependency Properties and Properties
public static readonly DependencyProperty SourceProperty =
DependencyProperty.Register(nameof(Source), typeof(Sources),
typeof(Segment), new PropertyMetadata(Sources.Time));

public static readonly DependencyProperty ForegroundProperty =
DependencyProperty.Register(nameof(Foreground), typeof(Brush),
typeof(Segment), new PropertyMetadata(new SolidColorBrush(Colors.Black)));

public Sources Source
{
    get { return (Sources)GetValue(SourceProperty); }
    set { SetValue(SourceProperty, value); }
}

public Brush Foreground
{
    get { return (Brush)GetValue(ForegroundProperty); }
    set { SetValue(ForegroundProperty, value); }
}
The Dependency Properties or Properties for the User Control can be customised for the Segment Control.
Step 8
While still in the namespace of SegmentControl in the class of Segment after the Comment
of // Get Element & Add Element Methods type the following Methods:
private static Rectangle GetElement(Canvas segment, string name) =>
    segment.Children.Cast<Rectangle>()
    .FirstOrDefault(f => (string)f.Tag == name);

private Rectangle AddElement(string name,
    int left, int top, int width, int height)
{
    var element = new Rectangle()
    {
        Tag = name,
        Opacity = 0,
        RadiusX = 2,
        RadiusY = 2,
        Width = width,
        Height = height,
        Margin = new Thickness(2)
    };
    element.SetBinding(Shape.FillProperty, new Binding()
    {
        Path = new PropertyPath(nameof(Foreground)),
        Mode = BindingMode.TwoWay,
        Source = this
    });
    Canvas.SetLeft(element, left);
    Canvas.SetTop(element, top);
    return element;
}
The Method of GetElement will be used to obtain an element to be modified and
AddElement will create an element for part of the segments of the Segment Control.
Step 9
While still in the namespace of SegmentControl in the class of Segment after the Comment
of // Set Segment & Add Segment Methods type the following Methods:
private void SetSegment(string name, int digit)
{
    var segment = Children.Cast<Canvas>()
        .FirstOrDefault(f => (string)f.Tag == name);
    byte[] values = table[digit];
    GetElement(segment, $"{name}.a").Opacity = values[0];
    GetElement(segment, $"{name}.b").Opacity = values[1];
    GetElement(segment, $"{name}.c").Opacity = values[2];
    GetElement(segment, $"{name}.d").Opacity = values[3];
    GetElement(segment, $"{name}.e").Opacity = values[4];
    GetElement(segment, $"{name}.f").Opacity = values[5];
    GetElement(segment, $"{name}.g").Opacity = values[6];
    GetElement(segment, $"{name}.h").Opacity = digit == colon_pos ? 1 : 0;
    GetElement(segment, $"{name}.i").Opacity = digit == colon_pos ? 1 : 0;
}

private void AddSegment(string name)
{
    var segment = new Canvas()
    {
        Tag = name,
        Width = 25,
        Height = 50,
        Margin = new Thickness(2)
    };
    segment.Children.Add(AddElement($"{name}.a",
        width, 0, height, width));
    segment.Children.Add(AddElement($"{name}.h",
        width * 3, width * 3, width, width));
    segment.Children.Add(AddElement($"{name}.f",
        0, width, width, height));
    segment.Children.Add(AddElement($"{name}.b",
        height + width, width, width, height));
    segment.Children.Add(AddElement($"{name}.g",
        width, height + width, height, width));
    segment.Children.Add(AddElement($"{name}.e",
        0, height + (width * 2), width, height));
    segment.Children.Add(AddElement($"{name}.c",
        height + width, height + width + width, width, height));
    segment.Children.Add(AddElement($"{name}.i",
        width * 3, height + (width * 4), width, width));
    segment.Children.Add(AddElement($"{name}.d",
        width, (height * 2) + (width * 2), height, width));
    Children.Add(segment);
}
The Method of SetSegment will use GetElement along with the Array of table to display the
appropriate value by setting the Opacity and AddSegment will add the segments to the Segment Control.
Step 10
While still in the namespace of SegmentControl in the class of Segment after the Comment
of // Add Layout Method & Value Property type the following Method and Property:
private void AddLayout()
{
    var array = _value.ToCharArray();
    var length = array.Length;
    var list = Enumerable.Range(0, length);
    if (_count != length)
    {
        Children.Clear();
        foreach (var item in list)
        {
            AddSegment(item.ToString());
        }
        _count = length;
    }
    foreach (int item in list)
    {
        var value = array[item].ToString();
        var digit = value switch
        {
            minus => minus_pos,
            colon => colon_pos,
            space => space_pos,
            _ => int.Parse(value),
        };
        SetSegment(item.ToString(), digit);
    }
}

public string Value
{
    get { return _value; }
    set { _value = value; AddLayout(); }
}
The Method of AddLayout creates the look-and-feel for the User Control
and the Property of Value will setup the display of the Segment Control
using the Method of AddLayout.
Step 11
While still in the namespace of SegmentControl in the class of Segment after the Comment
of // Constructor type the following Constructor and Event Handler:
public Segment()
{
    Spacing = spacing;
    Orientation = Orientation.Horizontal;
    var timer = new DispatcherTimer()
    {
        Interval = TimeSpan.FromMilliseconds(250)
    };
    timer.Tick += (object s, object args) =>
    {
        if (Source != Sources.Value)
        {
            var format = Source switch
            {
                Sources.Time => time,
                Sources.Date => date,
                Sources.TimeDate => date_time,
                _ => throw new ArgumentException(invalid_source)
            };
            Value = DateTime.Now.ToString(format);
        }
    };
    timer.Start();
}
The Constructor will setup a DispatcherTimer to be used to display the Value of the Segment Control.
Step 12
Step 13
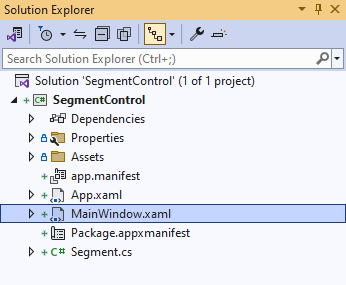
In the XAML for MainWindow.xaml there will be some XAML for a StackPanel, this should be Removed:
<StackPanel Orientation="Horizontal"
HorizontalAlignment="Center" VerticalAlignment="Center">
    <Button x:Name="myButton" Click="myButton_Click">Click Me</Button>
</StackPanel>
Step 14
While still in the XAML for MainWindow.xaml above </Window>, type in the following XAML:
<Viewbox>
    <local:Segment Padding="50" Source="Time"
    Foreground="{ThemeResource SystemControlHighlightAccentBrush}" />
</Viewbox>
This XAML contains a ViewBox and the User Control of Segment with the Source set to Time.
Step 15
Step 16
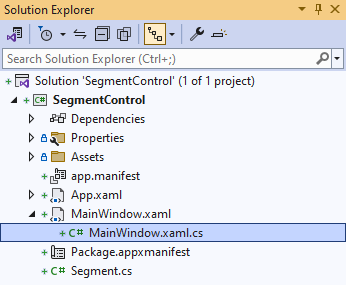
In the Code for MainWindow.xaml.cs there be a Method of myButton_Click(...) this should be Removed by removing the following:
private void myButton_Click(object sender, RoutedEventArgs e)
{
    myButton.Content = "Clicked";
}
Step 17

Step 18
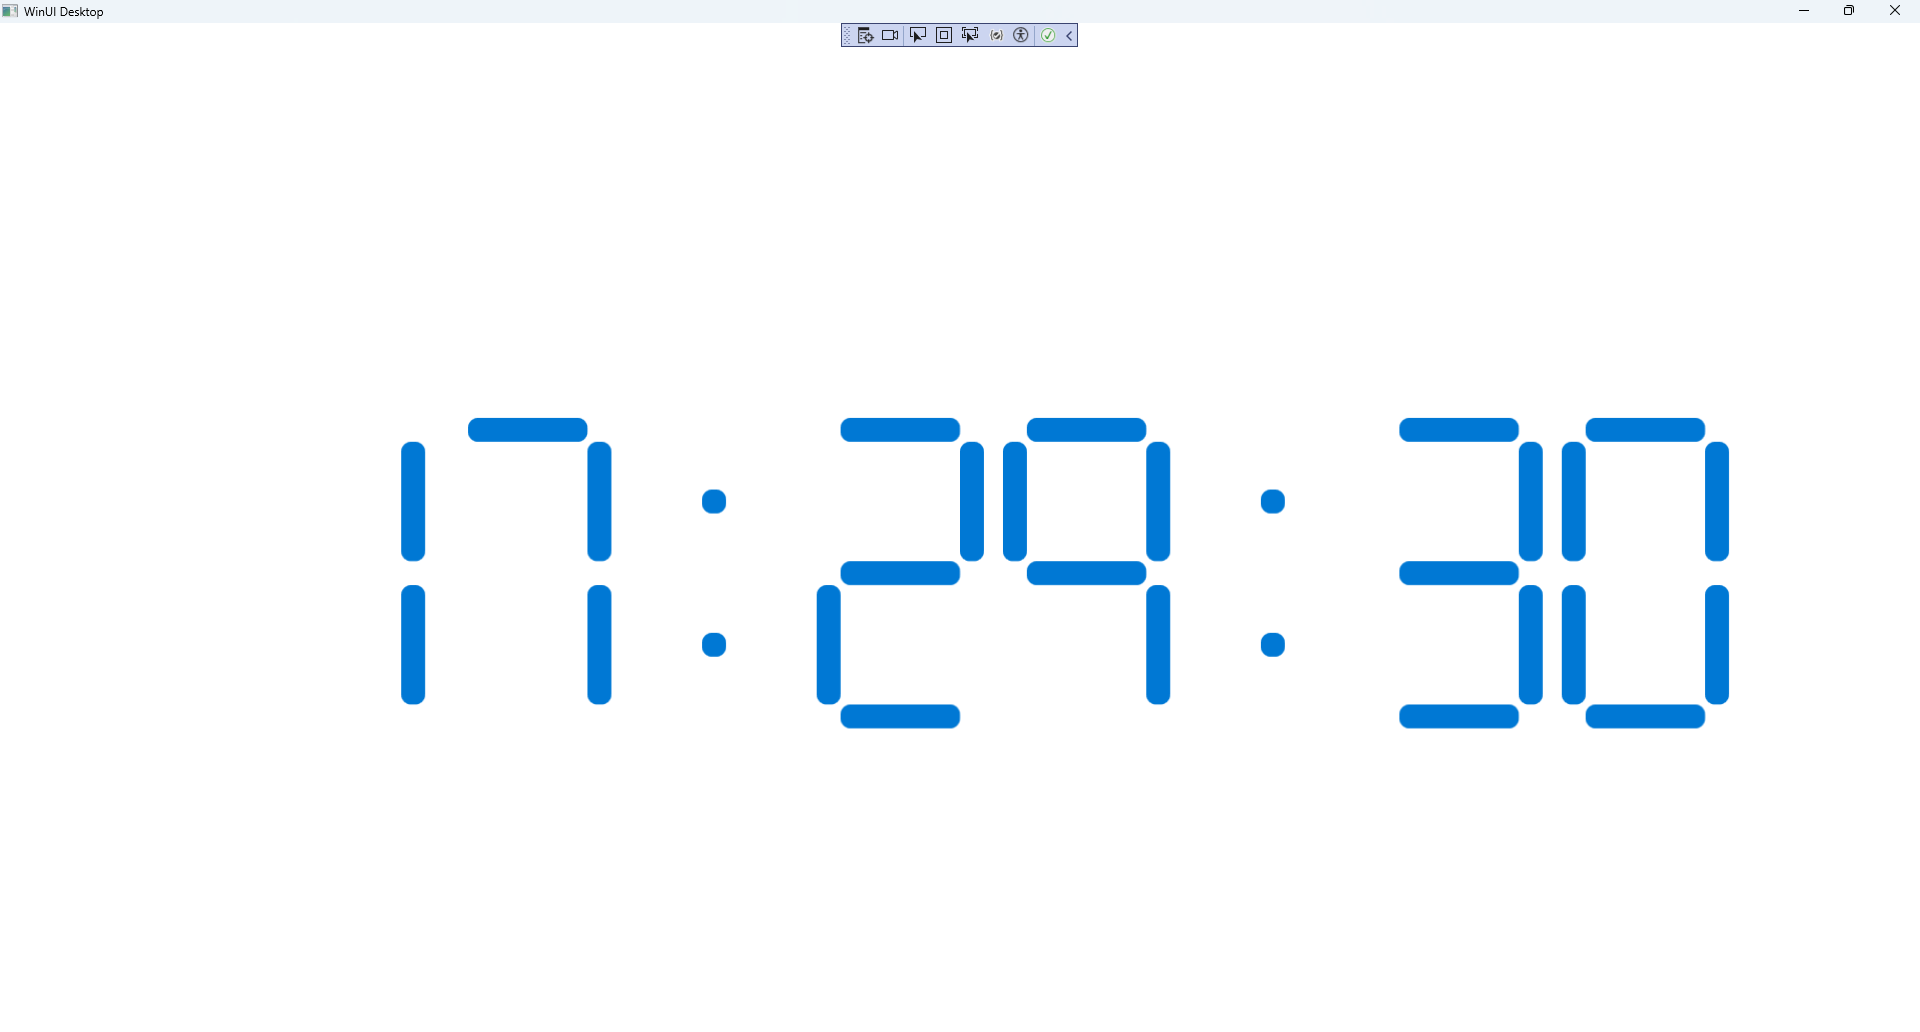
Once running you will see the Segment Control displaying the current Time.
Step 19
