Carousel Control
Learn creating a Carousel Control using Windows App SDK with this Tutorial
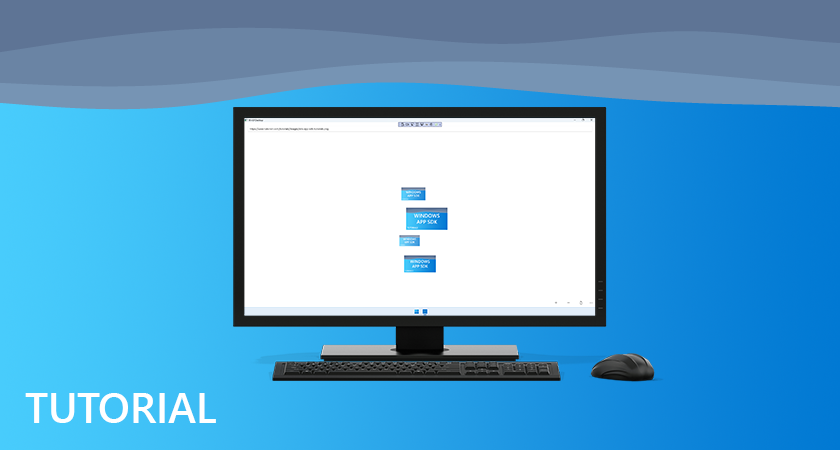
Carousel Control shows how to create a Control that can be used to display Images in a moving Carousel using Windows App SDK.
Step 1
Follow Setup and Start on how to get Setup and Install what you need for Visual Studio 2022 and Windows App SDK.


Step 2
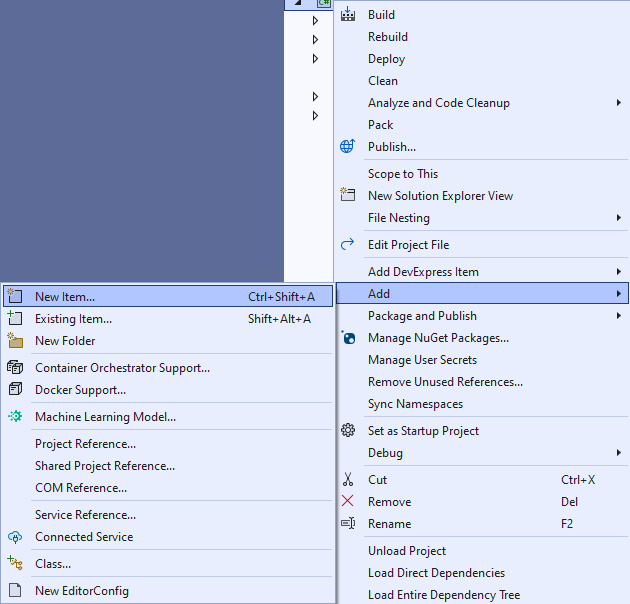
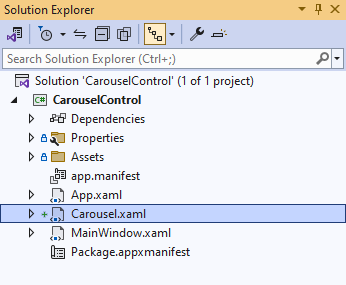
Then in Visual Studio within Solution Explorer for the Solution, right click on the Project shown below the Solution and then select Add then New Item…
Step 3
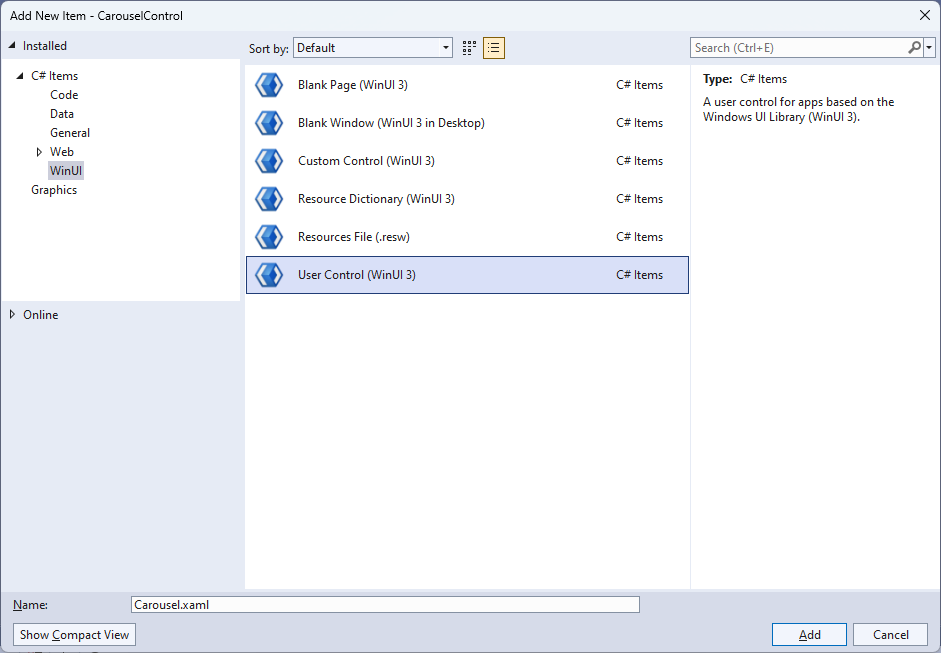
Then in Add New Item from the C# Items list, select WinUI and then select User Control (WinUI 3) from the list next to this, then type in the name of Carousel.xaml and then Click on Add.
Step 4
Step 5
In the XAML for Carousel.xaml there will be some XAML for a Grid, below Grid, type the following XAML:
<Canvas Name="Display" HorizontalAlignment="Center"
VerticalAlignment="Center" Loaded="Load"/>
This XAML contains a Canvas with a Loaded event handler of Load.
Step 6

Step 7
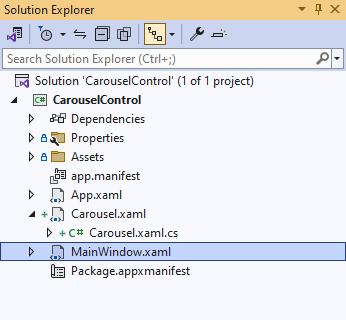
You will now be in the View for the Code of Carousel.xaml.cs near the top of the Code,
below the final using statement you will need to type the following using statements:
using Microsoft.UI.Xaml.Media.Animation;
using Microsoft.UI.Xaml.Media.Imaging;
Step 8
Then while still in the View for the Code of Carousel.xaml.cs type the following Code
below the end of the Constructor of public Carousel() { ... }:
private const double speed = 0.0125;
private const double perspective = 55;

private readonly Storyboard _animation = new();
private readonly List<BitmapImage> _list = new();
private readonly Point _radius = new() { X = -20, Y = 200 };

private Point _position;
private double _distance;

// Rotate Method

// Layout Method

// Add, Remove, New & Load Methods
The class for Carousel represents the User Control for the Carousel and includes a
Storyboard that will be used for rotating the images represented by the List of BitmapImage for the Carousel.
Step 9
While still in the class of Carousel after Comment of // Rotate Method type the following Method:
private void Rotate()
{
    foreach (var item in Display.Children.Cast<Image>())
    {
        double angle = (double)item.Tag;
        angle -= speed;
        item.Tag = angle;
        _position.X = Math.Cos(angle) * _radius.X;
        _position.Y = Math.Sin(angle) * _radius.Y;
        Canvas.SetLeft(item, _position.X - (item.Width - perspective));
        Canvas.SetTop(item, _position.Y);
        if (_radius.X >= 0)
        {
            _distance = 1 * (1 - (_position.X / perspective));
            Canvas.SetZIndex(item, -(int)_position.X);
        }
        else
        {
            _distance = 1 / (1 - (_position.X / perspective));
            Canvas.SetZIndex(item, (int)_position.X);
        }
        item.Opacity = ((ScaleTransform)item.RenderTransform).ScaleX =
            ((ScaleTransform)item.RenderTransform).ScaleY = _distance;
    }
    _animation.Begin();
}
This Method will be used for rotating the items in the Carousel by looping through all the Image controls and then adjusting the position
of them along with triggering the Storyboard.
Step 10
While still in the class of Carousel after Comment of // Layout Method type the following Code:
private void Layout(Canvas display)
{
    display.Children.Clear();
    for (int index = 0; index < _list.Count; index++)
    {
        _distance = 1 / (1 - (_position.X / perspective));
        var item = new Image
        {
            Width = 150,
            Source = _list[index],
            Tag = index * (Math.PI * 2 / _list.Count),
            RenderTransform = new ScaleTransform()
        };
        _position.X = Math.Cos((double)item.Tag) * _radius.X;
        _position.Y = Math.Sin((double)item.Tag) * _radius.Y;
        Canvas.SetLeft(item, _position.X - (item.Width - perspective));
        Canvas.SetTop(item, _position.Y);
        item.Opacity = ((ScaleTransform)item.RenderTransform).ScaleX =
            ((ScaleTransform)item.RenderTransform).ScaleY = _distance;
        display.Children.Add(item);
    }
}
This Method will be used to create the look-and-feel of the Carousel by positioning each
item as an Image onto the Carousel where needed.
Step 11
While still in the class of Carousel after Comment of // Add, Remove, New & Load Methods type the following Methods:
public void Add(BitmapImage image)
{
    _list.Add(image);
    Layout(Display);
}

public void Remove()
{
    if (_list.Any())
    {
        _list.Remove(_list.Last());
        Layout(Display);
    }
}

public void New()
{
    _list.Clear();
    Layout(Display);
}

private void Load(object sender, RoutedEventArgs e)
{
    _animation.Completed += (object s, object obj) =>
        Rotate();
    _animation.Begin();
}
Add will be used to add items to the Carousel and Remove will be used to remove the last item from the Carousel,
then New will be used to clear the Carousel of all items and Load will be used to setup the Carousel.
Step 12
Step 13
In the XAML for MainWindow.xaml there will be some XAML for a StackPanel, this should be Removed:
<StackPanel Orientation="Horizontal"
HorizontalAlignment="Center" VerticalAlignment="Center">
    <Button x:Name="myButton" Click="myButton_Click">Click Me</Button>
</StackPanel>
Step 14
While still in the XAML for MainWindow.xaml above </Window>, type in the following XAML:
<Grid>
    <Grid.RowDefinitions>
        <RowDefinition Height="Auto"/>
        <RowDefinition Height="*"/>
    </Grid.RowDefinitions>
    <TextBox Grid.Row="0" Name="Value" InputScope="Url" Margin="20,20,20,20"/>
    <local:Carousel  Grid.Row="1" x:Name="Display" Width="400"
        HorizontalAlignment="Center" VerticalAlignment="Center" />
    <CommandBar Grid.Row="1" VerticalAlignment="Bottom">
        <AppBarButton Icon="Add" Label="Add" Click="Add"/>
        <AppBarButton Icon="Remove" Label="Remove" Click="Remove"/>
        <AppBarButton Icon="Page2" Label="New" Click="New"/>
    </CommandBar>
</Grid>
This XAML contains the User Control of Carousel with Properties set including Foreground and Fill.
Step 15

Step 16
In the Code for MainWindow.xaml.cs there be a Method of myButton_Click(...) this should be Removed by removing the following:
private void myButton_Click(object sender, RoutedEventArgs e)
{
    myButton.Content = "Clicked";
}
Step 17
Once myButton_Click(...) has been removed, within the Constructor of public MainWindow() { ... } and below the line of this.InitializeComponent(); type in the following Code:
private void Add(object sender, RoutedEventArgs e) =>
    Display.Add(new BitmapImage(new Uri(Value.Text)));

private void New(object sender, RoutedEventArgs e) =>
    Display.New();

private void Remove(object sender, RoutedEventArgs e) =>
    Display.Remove();
The Methods of Add, New and Remove will be used with Event Handler from the XAML,
these Methods use Arrow Syntax with the => for an expression body which is useful when a Method only has one line.
Step 18

Step 19
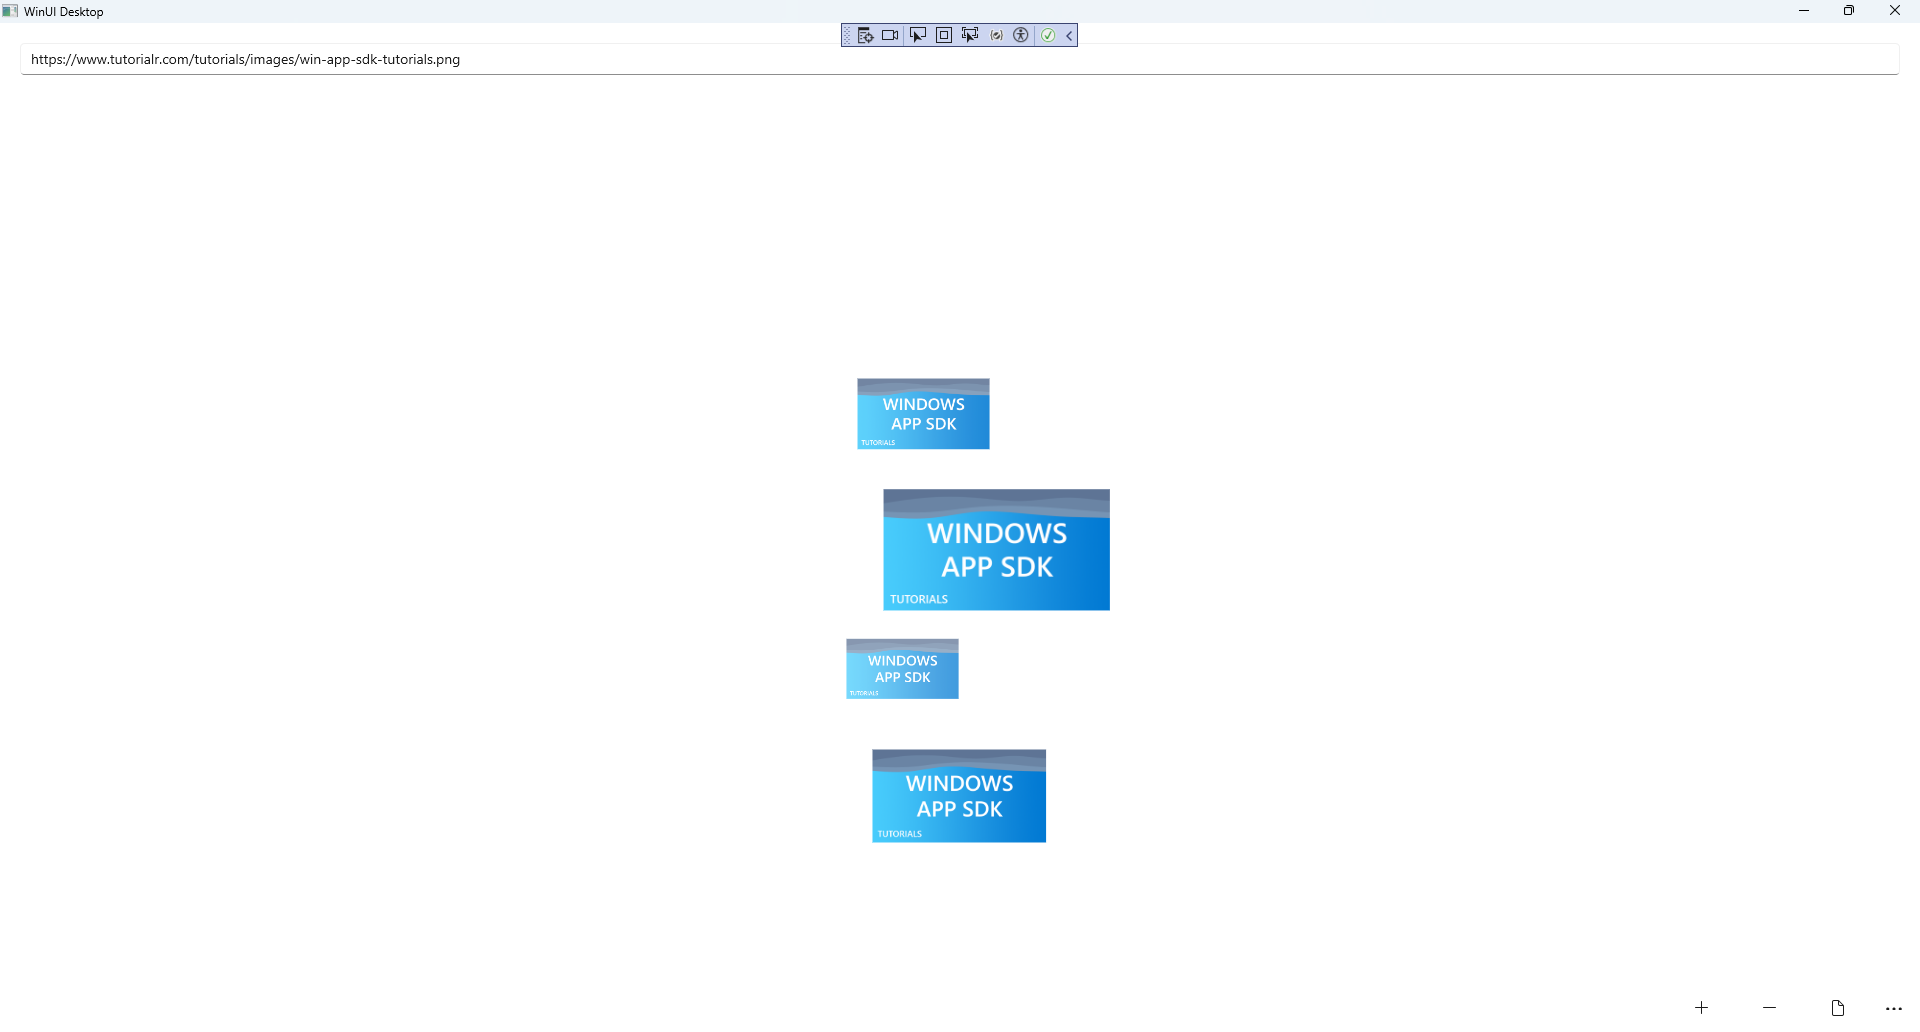
Once running you will see the Carousel Control displayed, then you can type in the URL of an image e.g. https://www.tutorialr.com/tutorials/images/win-app-sdk-tutorials.png then select Add to display this or multiple images on the Carousel or you can select Remove to remove the last image or New to clear the Carousel.
Step 20
